You have an image that looks fine on screen, but a print or upload workflow asks for “300 DPI.” Before changing anything, check two numbers: the image’s pixel dimensions and the physical size at which it will be used. A density label can change how software interprets those pixels for print. It cannot create detail that the file does not contain.
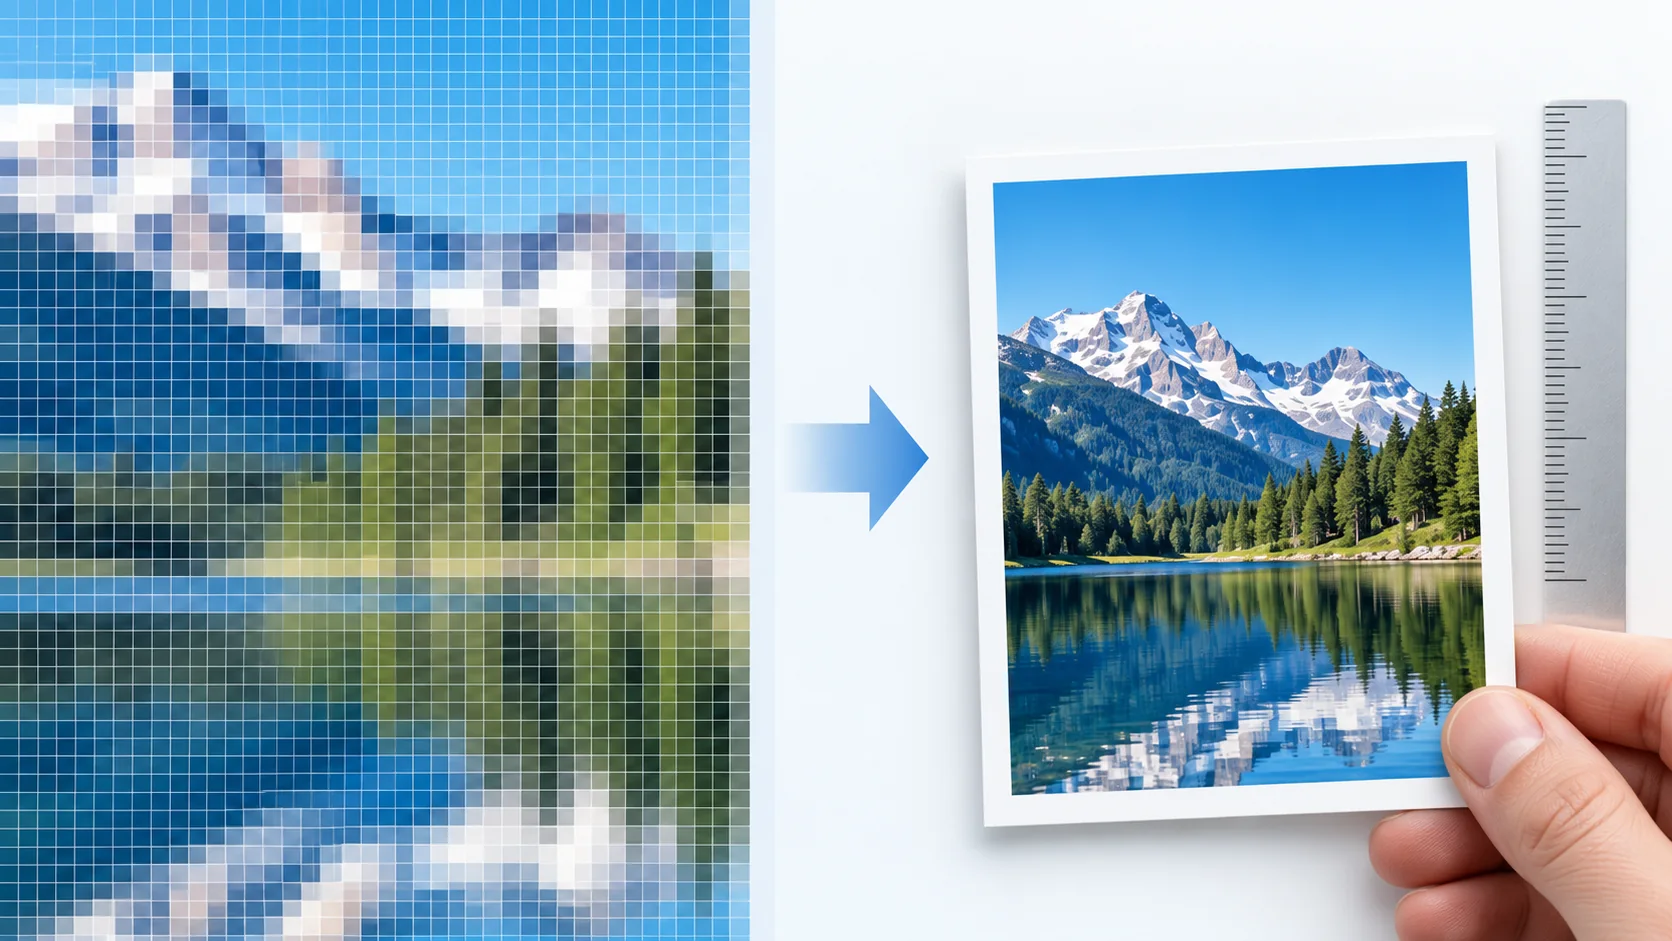
This guide explains when a 300 DPI metadata change is enough, how to make that change in your browser, and how to verify the downloaded file. It also covers the case where you actually need more pixels.
First: calculate whether the image has enough pixels
For an intended print, divide each pixel dimension by the desired pixels per inch (PPI). A 1800 × 1200 px image at 300 PPI corresponds to a 6 × 4 inch print. The same image labeled 150 PPI corresponds to 12 × 8 inches. Its 2.16 million pixels have not changed.
| Source image | At 300 PPI | What a metadata change can do |
|---|---|---|
| 1800 × 1200 px | 6 × 4 inches | Set the intended density to 300 without changing the pixel grid. |
| 1200 × 800 px | 4 × 2.67 inches | Set the density, but not make it a detailed 6 × 4 inch print. |
“DPI” is often used as shorthand in image-upload instructions, although PPI describes the image’s pixel density and DPI can describe printer dots. For this task, the practical distinction is between a number stored in the file and the pixel dimensions actually available. The Library of Congress explains the pixel-dimensions ÷ desired-DPI calculation. Always follow the final size and file-format requirements given by your printer, publisher, or upload system.
How to change a JPEG or PNG image to 300 DPI
If your image already has enough pixels for its intended physical size, you may only need to update the file’s density metadata.
- Open the Convert Image to 300 DPI tool.
- Choose or drop a JPEG/JPG or PNG file. The image is processed locally in your browser; the site does not upload the file for conversion.
- Select 300 DPI and download the result.
- Open the downloaded file in the Image DPI Checker and compare its reported density and pixel dimensions with the original.
- Check the required physical size, format, and any other submission rules separately. A 300 DPI label alone does not guarantee acceptance.
For JPEG, the tool updates or adds a JFIF density field. For PNG, it updates or adds the pHYs physical-pixel-dimensions chunk. Those JPEG/PNG paths do not resample the image pixels. The PNG specification describes pHYs as the chunk for intended physical pixel dimensions. Different applications can display density differently, so verify the output in the software or portal you will actually use.
Ready to try it? Change a JPEG or PNG to 300 DPI locally, then check the downloaded file before submitting it.
What about WebP?
The tool also accepts WebP. Because the browser cannot write a density header into a WebP file, the tool decodes the image, re-encodes it losslessly to PNG with the requested density, and downloads it with a .png extension. The pixel width and height stay the same. If the receiving system accepts only WebP, change the density in a desktop editor instead, or confirm that a PNG upload is allowed before you submit.
Why changing DPI sometimes does not solve the problem
Consider a 1200 × 800 px figure intended to fill a 6 × 4 inch space. At that size, it supplies 200 pixels per inch. Relabeling the file “300 DPI” leaves it at 1200 × 800 px. A system that checks both pixel dimensions and intended print size can still find it insufficient.
In that case, you have three honest options: use a smaller physical size, obtain a higher-resolution source, or recreate the figure from its original editable artwork. Resampling can increase the file’s pixel count, but it cannot recover detail missing from the source. If you are preparing charts or text-heavy figures, exporting again from the original document is usually a better starting point than enlarging a small screenshot.
There is another trap: a file may display “300 DPI” in one inspector while another program emphasizes print dimensions or ignores the metadata. The PNG specification notes that ancillary chunks may be ignored by decoders. Judge success by the requirements of the destination workflow, not by a single label in one app.
A short pre-submission checklist
- Confirm the required final width and height in inches or centimeters, if specified.
- Divide source pixels by the intended inches to see the effective PPI at that size.
- Confirm the allowed format. A JPEG/PNG metadata edit and a WebP-to-PNG export are different operations.
- After download, check the actual DPI metadata and ensure the pixel dimensions are still what you expect.
- Upload a test file to the destination system when possible. Its validation rules are the final authority.
Frequently asked questions
Does changing an image to 300 DPI improve its quality?
No. Changing only density metadata does not add pixels or restore lost detail. It changes the intended relationship between the existing pixels and physical size.
What pixel dimensions do I need for a 6 × 4 inch print at 300 PPI?
Multiply each dimension by 300: 1800 × 1200 px. A printer or publisher may also specify crop, bleed, color, or format requirements.
Can I change a PNG to 300 DPI without re-encoding it?
For the tool’s PNG path, the pHYs chunk is added or updated while the encoded image data remains unchanged. Check the downloaded file afterward because other software may interpret or report density differently.
Can I use the tool with WebP?
Yes. The browser cannot write a density header into WebP, so the tool re-encodes the image losslessly to PNG with the requested DPI and downloads a .png file. Pixel dimensions stay the same. Confirm the receiving system accepts PNG before submitting.
Check the pixels before you convert
A 300 DPI label is useful when the source already fits the intended print size. Inspect your image first, then make the density change if that is the missing requirement.
Check image DPI